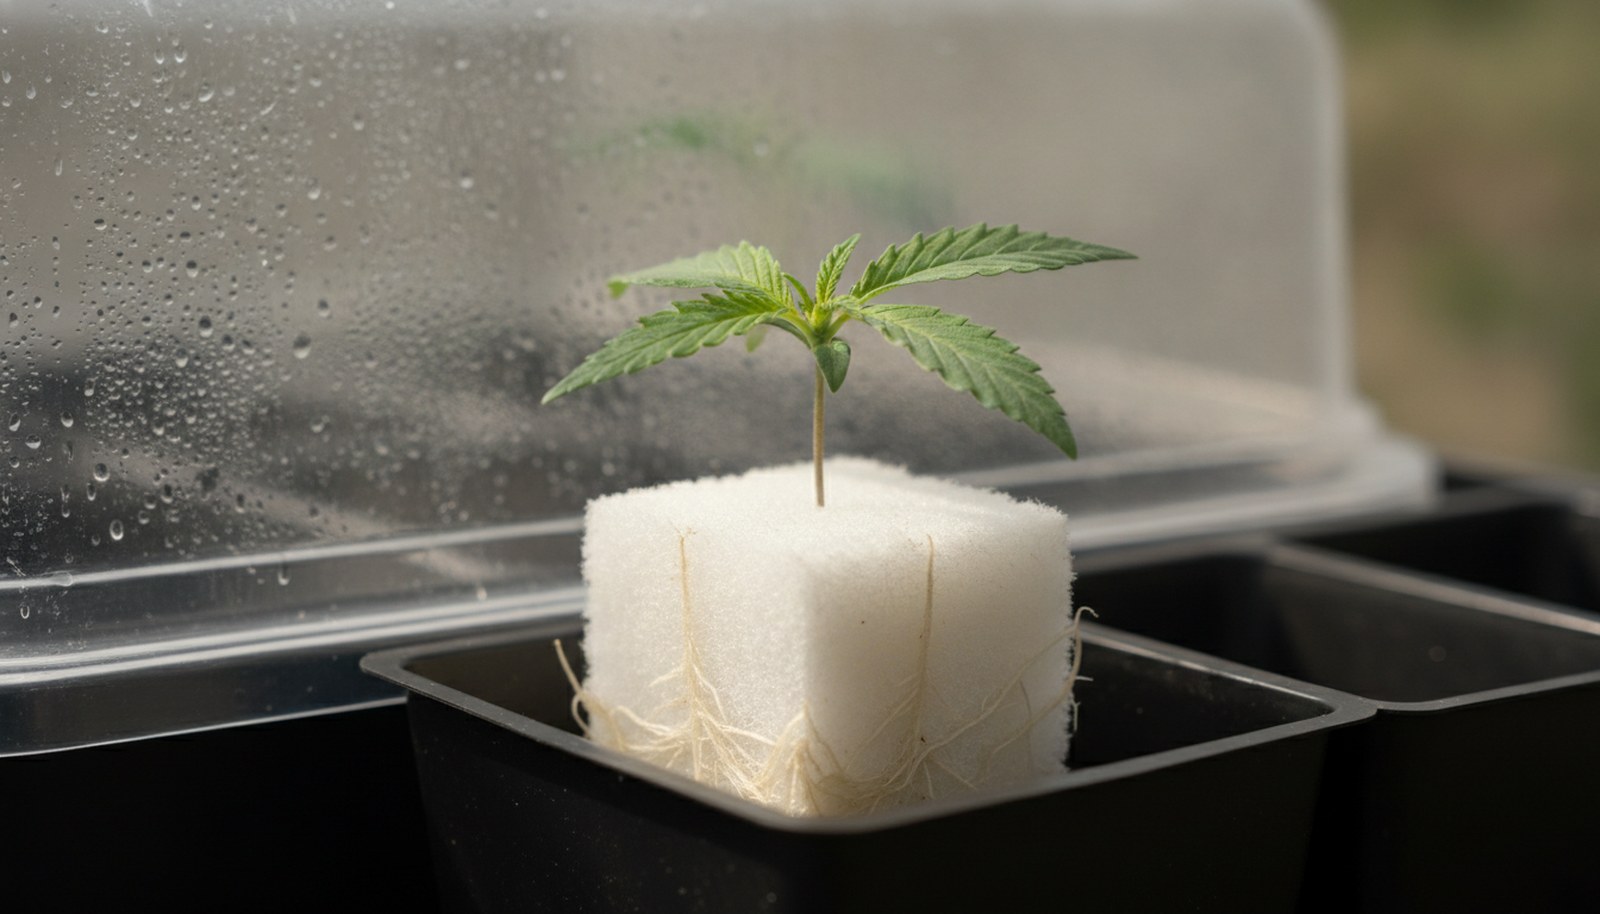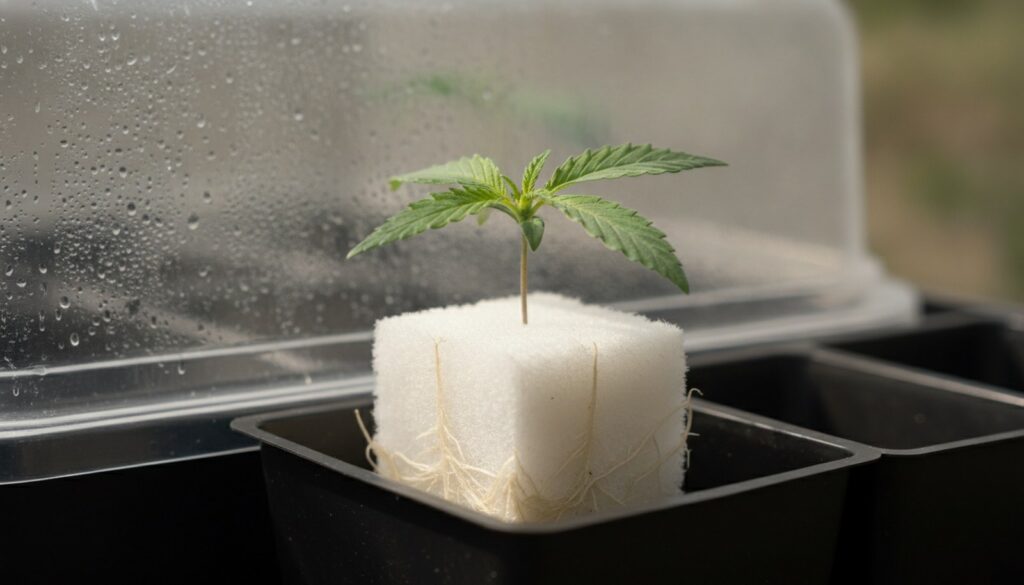
A clone is a cutting taken from a living cannabis plant — a genetic copy of its mother that is already a few weeks into its life. For a first-time home grower in Massachusetts, that head start is most of the appeal. You skip germination, you skip the coin flip on whether a seed turns out male, and you have a fair idea of what the plant will become, because someone has already seen the plant it came from.
What a clone does not skip is the work. From the day it lands under your light to the day it comes out of the jar, you are looking at four to seven months of small, consistent decisions. This guide walks the whole run: what Massachusetts actually allows, how to settle a new clone in, the outdoor calendar that New England weather dictates, indoor setup, soil and water and food, the tools worth owning, and how to tell — properly — when it is ready to come down.
Adults 21+ only.
Start with what Massachusetts allows
Home cultivation is legal here, and the limits are specific. Read these before you spend a dollar on equipment — a couple of them decide whether you can grow at your address at all.
- Six plants per adult 21+, twelve per residence. Twelve is a hard ceiling no matter how many adults live there.
- Never more than six flowering at once. The Commission’s guidance is to harvest on a cycle rather than run every plant at the same stage.
- Out of public view. Plants cannot be visible from a public place without binoculars, aircraft or other optical aids.
- Behind a lock. The growing area has to be equipped with a lock or other security device.
- Ten ounces at home. Anything over two ounces should be locked away in childproof packaging. Two ounces is the limit you can carry outside the house.
- Renting? Check the lease first. Landlords are allowed to prohibit cultivation, and many do.
- No solvent extraction at home. Making concentrates with flammable material below a 100°F flashpoint is off the table.
- You cannot sell it. Only licensed retailers can sell cannabis in Massachusetts.
Getting it wrong is a civil fine of up to $300 and forfeiture of the plants. Cities and towns can add their own rules on top, so it is worth a look at your municipality as well. The current rules live on the Cannabis Control Commission’s home cultivation page.
Why growers start with a clone
Seeds and clones both work. They just hand you different problems, and it is worth knowing which set you are signing up for.
What a clone gives you
- Known genetics — the same structure, smell and finishing time as the mother
- A female plant, so no culling males halfway through
- Two to three weeks off the front of the run
- Consistency between plants, which makes a small space far easier to manage
What a clone asks of you
- It inherits whatever the mother had. Mites and mildew travel on cuttings — inspect closely before it goes anywhere near other plants
- No taproot. Clones root sideways, so they are less drought-tolerant and want staking outdoors
- It is fragile at the start. Most clone failures happen in the first week, not the last month
- You need a legal source, and the rules on passing plants between adults are narrow — check before you rely on a friend
The first week is the whole ballgame
Whatever else goes wrong later is usually recoverable. The days right after a clone arrives are the ones that quietly decide whether you have a plant at all.
Humidity, high then falling
Keep a new clone at roughly 70–80% relative humidity under a dome. Crack the vents a little wider each day and take the dome off entirely somewhere around day five to seven.
Light, gentle
Eighteen hours on, six off — but dim, and further back than feels right. A cutting with almost no root mass cannot drink fast enough to keep up with hard light.
Warmth at the roots
Aim for 72–78°F. Cold roots simply stall, and a basement floor in April is colder than the room it sits in. A seedling heat mat under the tray fixes it.
Almost no food
Plain pH-adjusted water, or a quarter-strength feed at most. There is nothing there to feed yet, and burning a clone in week one costs you a fortnight you never get back.
You will know it is ready to move on when roots push out through the sides of the cube or plug and the plant starts putting out new growth of its own. That is the signal to pot up — not a date on the calendar. Go up in stages rather than straight into the final container: a one-gallon pot, then three to five gallons, then seven to fifteen indoors. Drop a small cutting into a huge pot of wet soil and the roots never get the chance to dry back.

The Massachusetts outdoor calendar
Massachusetts gives you one outdoor run a year, and the weather decides both ends of it. Cannabis is photoperiod-sensitive: it starts flowering when nights get long enough, and in eastern Massachusetts daylight drops back under fourteen hours in early to mid August. That one fact sets the entire schedule.
- March–April — indoors under lights. Root and veg your clones inside. Amend beds, turn the soil, check that water actually drains where you plan to plant.
- Mid to late May — harden off. Coastal Boston is usually clear of frost by mid-April; inland Worcester County can hold risk into early May. Give plants seven to ten days of gradually longer outdoor sun before they live out there full-time.
- Late May to early June — transplant. After Memorial Day is the boring, correct answer. Go big on the container — twenty-five to a hundred gallons, or straight into the ground.
- June–July — the growth months. This is where size happens. Top or train early, keep up with watering, and start a pest routine now rather than when you first see damage.
- Late July into August — flowering starts. Nights get long enough and the plant flips on its own. Stop topping and switch to a bloom feed.
- September — protect the crop. New England Septembers are wet, and rain sitting inside a dense cola is how a plant is lost overnight. Shake plants off after storms, thin the interior, keep air moving.
- Late September to mid-October — harvest. Most photoperiod plants finish in this window. Inland first frost can arrive in early to mid October; Boston usually holds into late October.
If that window feels tight, autoflowering plants are the way around it. They flower on age rather than daylight, so one planted in June finishes in roughly ten to twelve weeks and misses the wettest stretch of the fall entirely.

Growing indoors, any month you like
Indoors you are buying control. Nothing is seasonal, nothing depends on a dry September, and you can run a plant start to finish in the middle of a Boston winter. What you give up is electricity and attention.
- Space. A 2×4 tent comfortably runs two to four plants; a 4×4 handles four to six. Resist filling it. Airflow between plants is what keeps mildew out.
- Light. A decent LED, kept moderate through veg and pushed harder in flower. Run 18 hours on and 6 off while vegging, then flip to 12/12 to start flowering — and the dark period has to be genuinely dark and genuinely uninterrupted.
- Temperature and humidity. Veg likes 75–82°F at 60–70% humidity. Flower likes 70–80°F at 45–55%, tapering into the low forties for the last couple of weeks as buds get dense.
- Air. An oscillating fan for gentle movement inside the canopy, and an inline fan pulling through a carbon filter for exhaust. A plant in week six of flower is not subtle, and the filter is what keeps this a private hobby.
- Timing. Roughly four to eight weeks of veg, then eight to eleven weeks of flower depending on genetics.
Soil, water and food
Three things, done unremarkably well, account for most of the difference between a healthy plant and a struggling one. None of them reward enthusiasm.

The mix
Start with a good bagged living soil, or build one: roughly 60% peat or coco base, 25–30% aeration (perlite, pumice or rice hulls) and the rest compost and worm castings. Aeration is the part beginners skimp on — roots need air as much as water.
Add mycorrhizae at transplant, directly onto the root ball where it makes contact. Target a pH of 6.2–6.8 in soil, or 5.5–6.2 in coco.
Watering
Water thoroughly, then let the pot dry back before you water again. The most reliable method is weight: lift the pot soaked, lift it dry, and within a week your hands read it better than a meter does. When you do water, go until you get 10–20% runoff.
Overwatering kills far more clones than drought. Soil that never dries suffocates roots and breeds fungus gnats.
Feeding
Veg wants nitrogen; flower wants phosphorus and potassium, plus calcium and magnesium — especially in coco, or if you are on RO or soft water. Start at half the label rate. Labels are written for maximum consumption, not for your plant.
Read the leaves. Pale, even yellowing climbing from the bottom usually means nitrogen. Burnt, clawed tips usually mean too much of everything.
Keeping plants healthy
Most of what goes wrong in a home grow is slow and preventable. Weekly attention beats heroic intervention every time.
Train early, then leave it alone
Topping above the third or fourth node, or bending branches down and tying them off, turns one tall stem into an even canopy. Do it during veg and stop a week or two before flowering starts.
Thin, do not strip
Take the leaves that block light or trap humidity in the middle of the plant. Stripping it bare is a stress you pay for later in yield.
Scout weekly, with a loupe
Check the undersides of leaves. Spider mites, thrips, aphids, fungus gnats and russet mites all leave damage well before you ever see the insect itself.
Mold is the New England problem
Powdery mildew on leaves, botrytis inside dense flowers. Both are airflow and humidity problems first and spray problems a distant second — and you never spray anything onto flowering buds you intend to consume.
What you actually need
You can spend an enormous amount of money on this hobby. You do not have to. Here is the honest list, in the order you will reach for it.
Setting up
- A grow tent, or a private, securable outdoor spot
- An LED grow light and a timer
- Inline fan and carbon filter
- A small oscillating clip fan
- Fabric pots — 1 gal, then 3–5, then 7–15 indoors; 25–100 outdoors
- A humidity dome or propagator, and saucers
Measuring
- A pH meter, plus pH up and down
- A TDS or EC meter
- A thermo-hygrometer for the tent
- A 60× jeweller’s loupe, or a cheap USB microscope — this is the one tool people skip and then regret at harvest
Day to day
- Clean, sharp pruning snips
- Nitrile gloves
- A watering can and a pump sprayer
- Trellis netting and soft plant ties
- Bamboo stakes for anything growing outdoors
Harvest and after
- Trimming scissors — spring-loaded, if your hands matter to you
- A drying line or a mesh rack
- Wide-mouth glass jars
- Two-way humidity packs
- A small hygrometer that fits inside a jar

How to tell when it is ready
Nearly every other mistake in a grow is recoverable. Harvest timing is not. Cut early and you leave weight and character behind; cut late and the whole thing turns heavy. The plant will tell you, but you have to look properly.
Trichomes are the real answer. Those are the resin glands coating the flower, and under a loupe they move through three stages:
- Clear and glassy — not ready. Still filling out.
- Cloudy or milky — this is the window. Most growers cut when the heads have mostly gone milky.
- Amber — past peak, and the effect tends to read heavier and more relaxed. Somewhere around 10–20% amber is a common target for a rounder finish.
Look at trichomes on the flower itself, never on the sugar leaves. Leaves mature faster and will talk you into cutting a week early.
Pistils are the rough guide. The fine hairs start white and upright and end curled and orange. When roughly 70–90% have darkened and curled in, you are in the neighbourhood — use that to know when to start checking, and trichomes to make the actual call.
The plant looks finished too. Fan leaves yellow and drop, buds stop swelling, and the smell shifts from sharp and green to whatever that plant actually is.
Dry, trim and cure
The last two weeks decide how the first four months taste. More good harvests are ruined here than anywhere else in the process, almost always by rushing.
- Cut and hang. Whole plant, or branch by branch, upside down. You can take the leaves off now (a wet trim — faster, and it looks tighter) or after drying (a dry trim — slower, and gentler on the resin).
- Dry slowly. A dark room at roughly 60°F and 60% humidity, with gentle indirect airflow and never a fan pointed at the flower. Ten to fourteen days. Drying fast is the single most common reason good cannabis ends up tasting like hay.
- Know when it is dry. A small stem snaps instead of bending. The outside will feel ready days before the inside is.
- Jar it. Fill wide-mouth glass jars about three-quarters full and put a hygrometer in one. You want it to settle near 62%.
- Burp them. Open the jars for a few minutes once a day for the first week or two, then taper off. Cure for at least two to four weeks — most flower keeps improving for a couple of months.
Store what you finish in glass, in the dark, somewhere cool. And if it comes to more than two ounces, locked away.

Questions people actually ask
How long does a clone take to reach harvest?
Indoors, plan on four to six months from the day the clone roots — roughly four to eight weeks of vegetative growth, eight to eleven weeks of flowering, then two to four weeks to dry and cure. Outdoors in Massachusetts, a clone that goes in the ground in late May is usually harvested between late September and mid-October.
How many plants can I legally grow in Massachusetts?
Six per adult 21 or over, and no more than twelve at any one residence regardless of how many adults live there. The Commission also advises keeping no more than six in flower at a time. Plants must not be visible from a public place without binoculars, aircraft or other optical aids, and the area has to be equipped with a lock or other security device.
Does Lowkey sell clones or seeds?
No. We do not stock clones, seeds or cultivation supplies — our shelf is flower, pre-rolls, vapes, edibles, concentrates and tinctures. This guide is here because plenty of our neighbours grow at home and ask us about it. If that ever changes, we will say so.
Do I need a special light to grow indoors?
Yes. A window will not do it. A modern LED sized to your tent is the simplest option and runs far cooler than the old HID lights. Outdoors, six to eight hours of direct sun a day does the same job for free.
What is the most common beginner mistake?
Overwatering, followed closely by overfeeding. Both come from wanting to help. A cannabis plant in a well-draining pot would much rather be slightly dry and slightly hungry than soaked and overfed.
Can I grow on a balcony or in a front yard?
Only if the plants are not visible from a public place without optical aids, and only if the area can be locked or otherwise secured. A front yard almost never clears that bar. A fenced back garden, a locked shed or a garage usually can. If you rent, check your lease before anything else — landlords are allowed to prohibit cultivation outright.
What do I do if I find mold?
Cut it out immediately, well past the affected area, and do not consume it. Bud rot moves through a dense cola quickly and is often invisible from the outside, so if you find it in one place, check every plant you have. Prevention is spacing, airflow and humidity control — not a spray.
Not growing? The shelf is stocked.
Four to seven months is a real commitment, and plenty of people would rather walk in and pick something out. We are at 5268 Washington St in West Roxbury, open 10AM–9PM every day, and the budtenders are happy to talk you through what is on the shelf.
This article is general educational information for adults 21 and over in Massachusetts. It is not legal advice. Home cultivation rules can change, and individual cities and towns may add restrictions of their own — check the Massachusetts Cannabis Control Commission and your own lease before you start. Lowkey Dispensary does not sell cannabis clones, seeds or cultivation supplies.
Adults 21+ only. Please consume responsibly. Start low, go slow.
Lowkey 2, LLC · Massachusetts Cannabis Control Commission licence MR284730.